Mastering Chrome Nail Polish Techniques: Evolution of Chrome
History of Chrome Nail Polish
When we talk about chrome nail polish, we’re delving into a relatively new chapter in beauty. This trend has taken the nail industry by storm, with its origins not too far back in history.
Emergence in the Beauty Industry
Chrome nail polish first emerged as a flashy alternative to traditional polish finishes. It brought a futuristic touch, dazzling with a mirror-like gleam that caught the eye of fashion-forward individuals. Salons started to offer chrome manicures as a special service, using innovative techniques to achieve the reflective effect.
Evolution of Chrome Nail Finishes
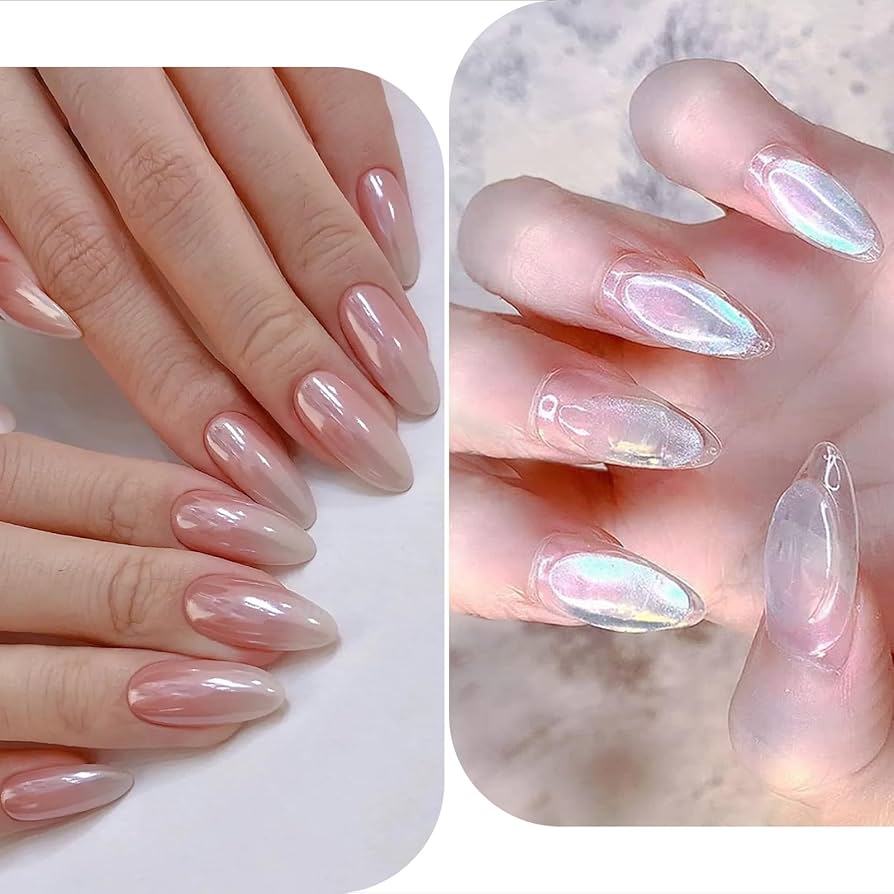
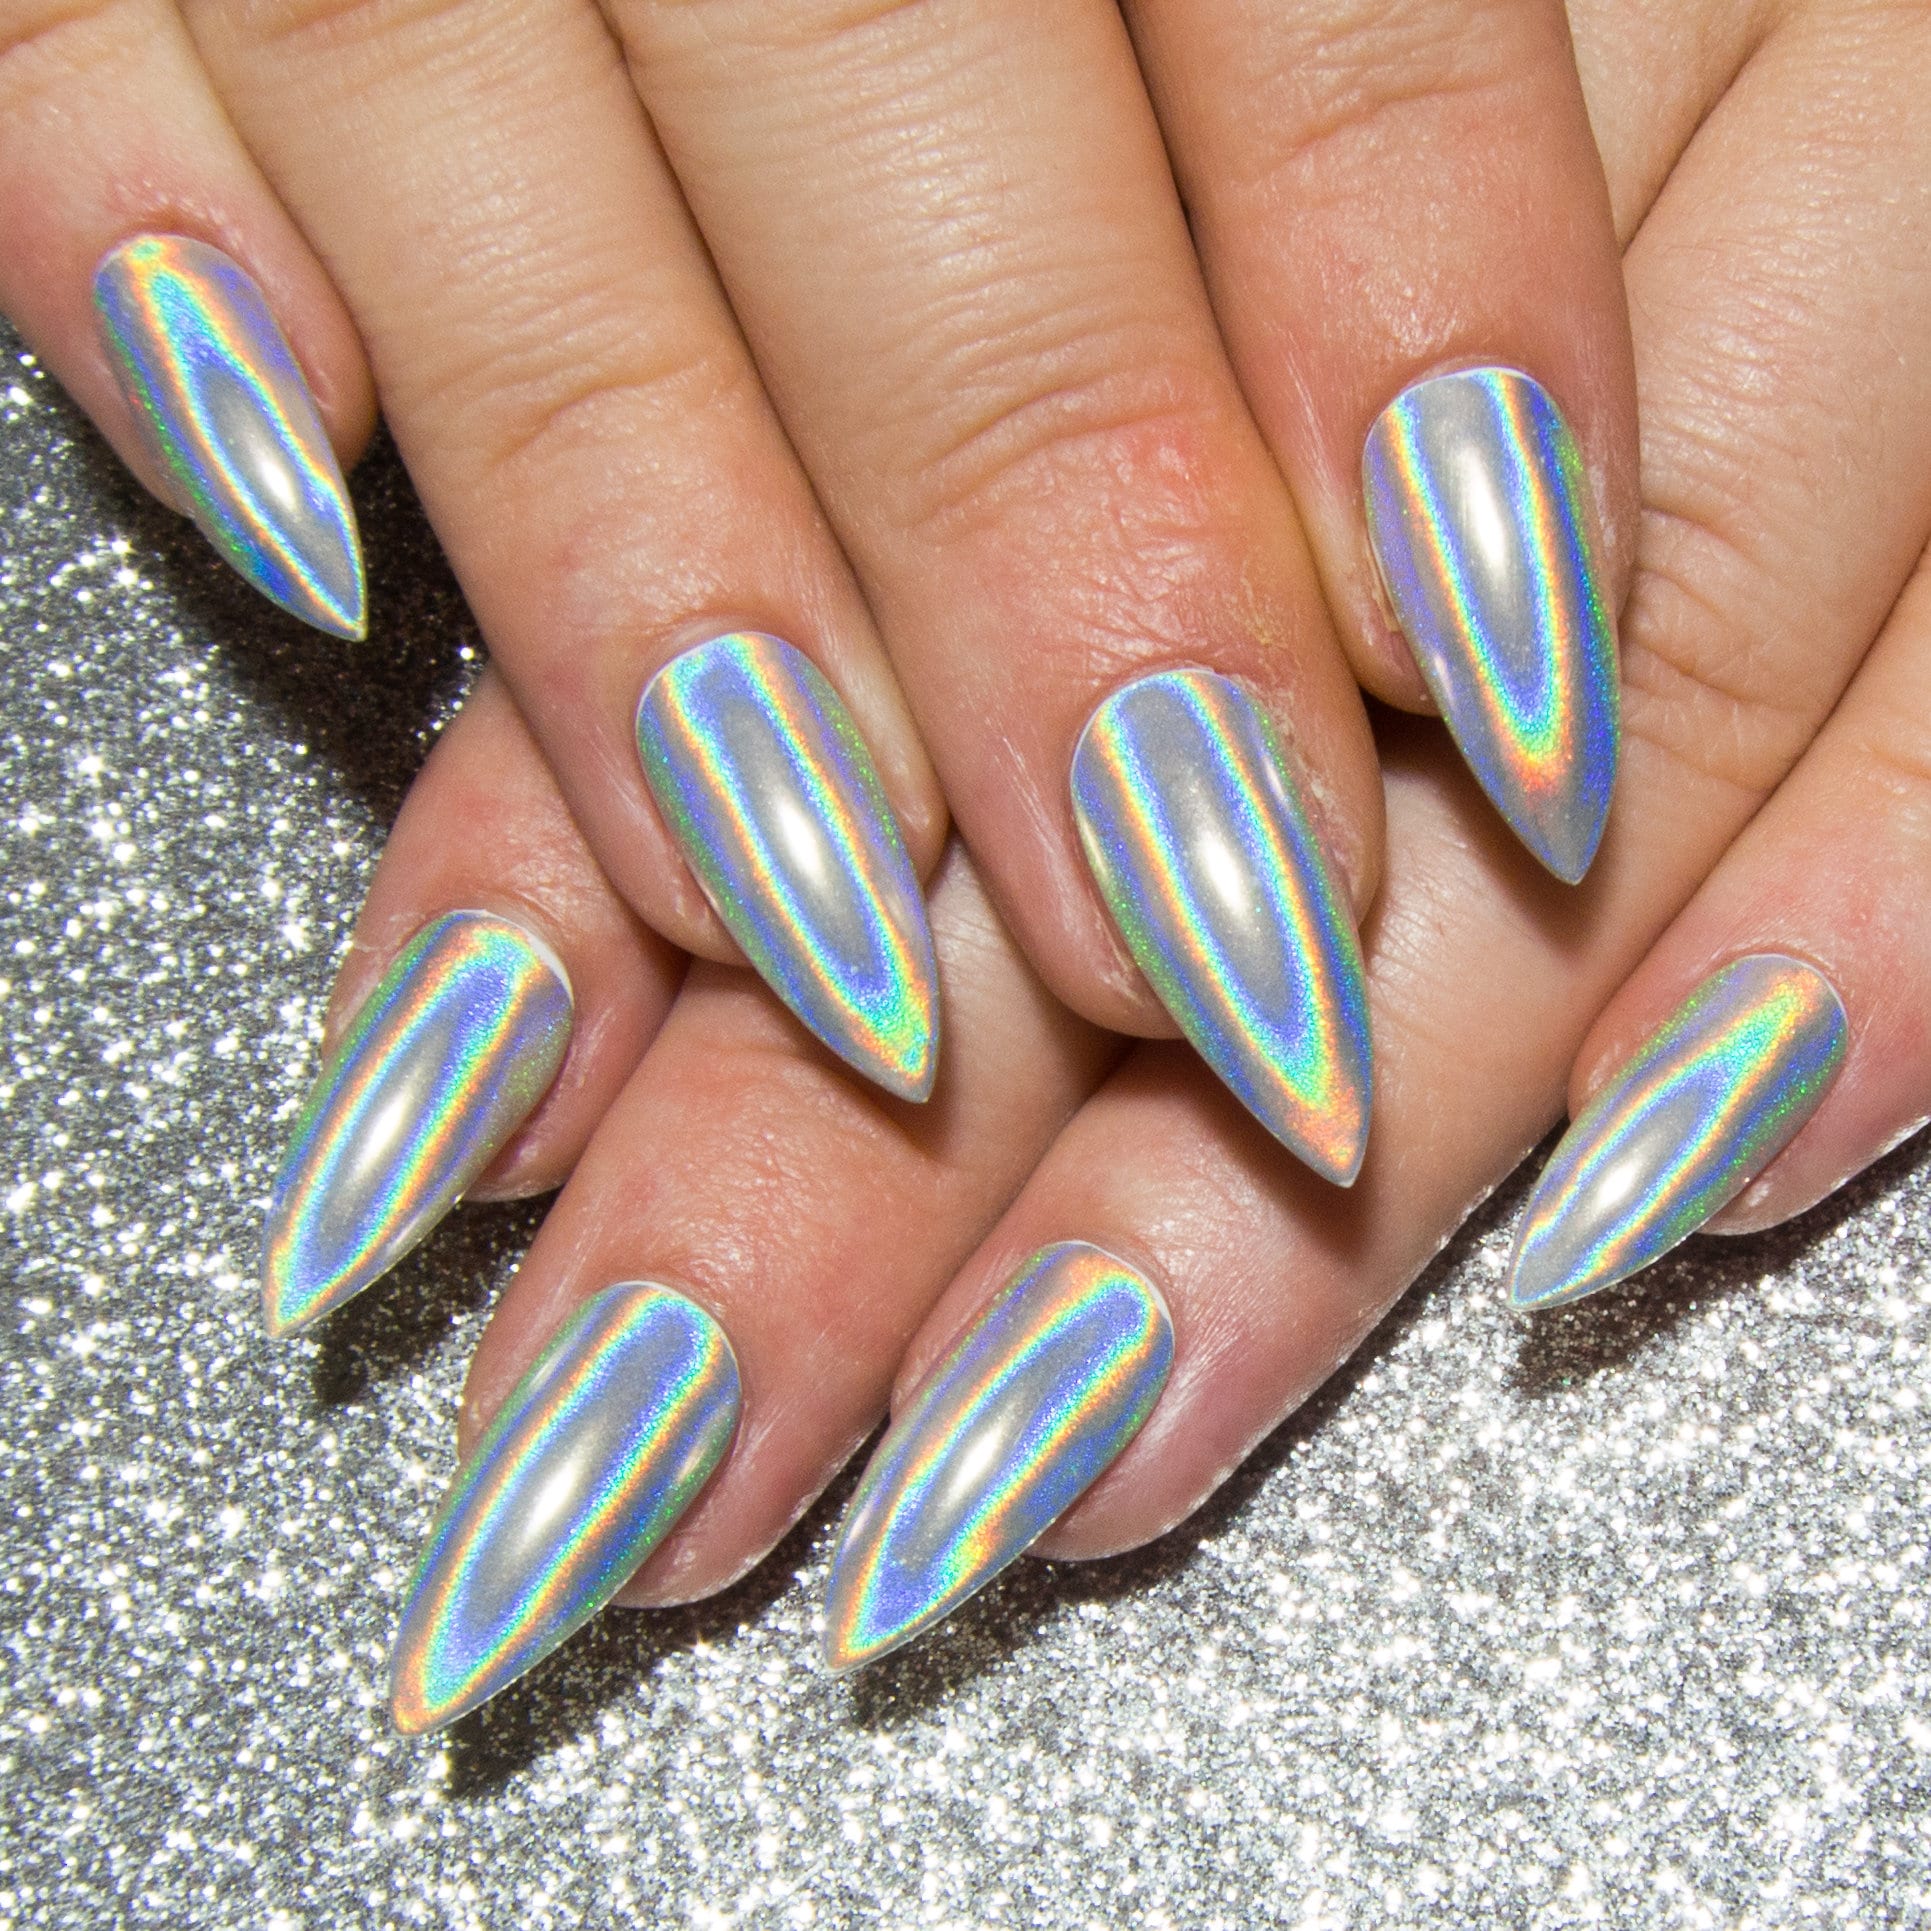
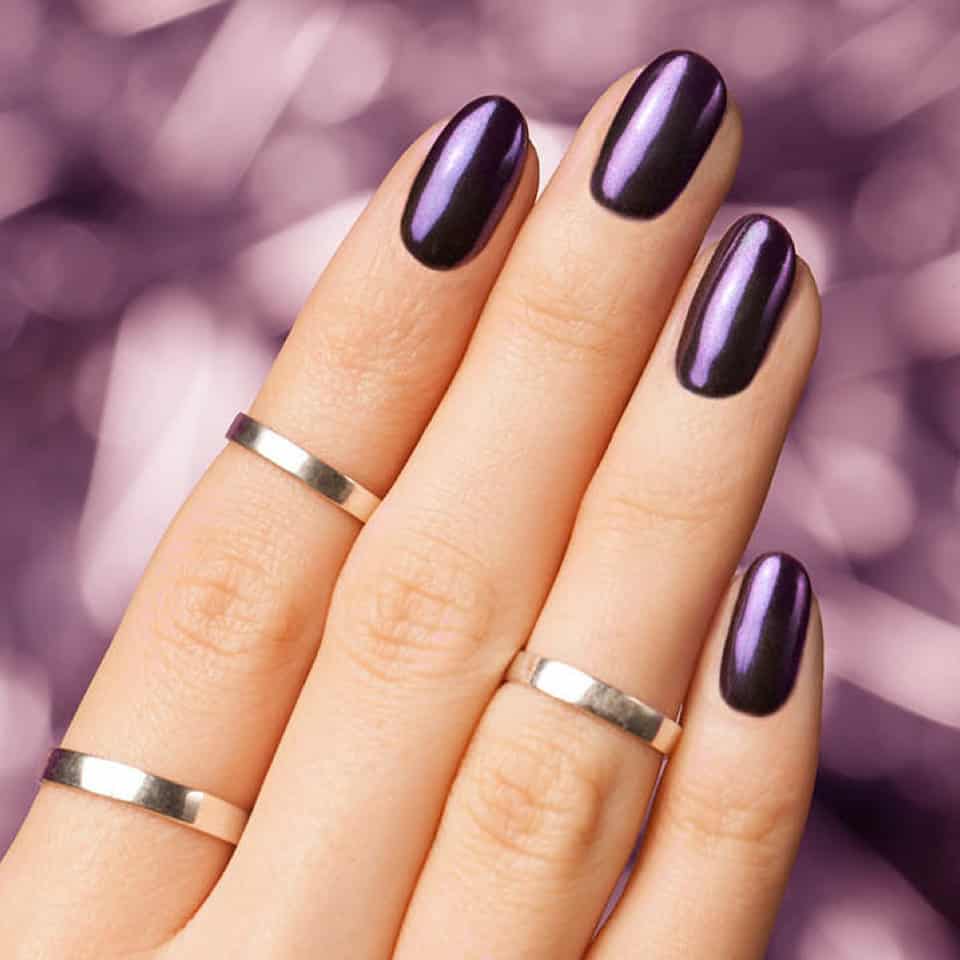
Over time, the chrome nail polish finishes evolved. The beauty industry saw the introduction of various formulations, from powders to gels, each providing a unique shine and effect. These products allowed for more experimentation, leading to diverse styles beyond the classic silver. Now, you’ll find chrome nails in a rainbow of colors, with effects ranging from holographic glitters to subtle metallic sheens. The evolution of chrome finishes shows the versatility and enduring appeal of this nail trend.
Types of Chrome Nail Polish
Chrome nail polish comes in various forms to suit different preferences.
Differentiate Between Powder, Gel, and Liquid Forms
When choosing chrome nail polish, consider three main types: powder, gel, and liquid. Powder chrome polish creates a smooth, mirror-like finish and involves rubbing the powder onto the nail’s surface. Gel chrome polish requires curing under UV or LED light, offering a long-lasting shine. Liquid chrome polish applies like traditional nail varnishes but with a metallic finish.
Each type has its application method and effect:
- Powder polish provides high-intensity shine.
- Gel polish offers durability and chip resistance.
- Liquid polish ensures easy application with varying levels of metallic sheen.
Selecting the Right Type for Your Nails
Choosing the right chrome nail polish depends on several factors:
- Your skill level: Powder requires more technique than liquid.
- Desired effect: For the highest shine, powder is ideal.
- Wear time: Gels last longer, making them perfect for extended wear.
For beginners, liquid chrome may be the best starting point, while professionals might opt for powder or gel for a more dramatic effect. Always consider your nail’s health and apply a base coat, regardless of the type of chrome polish you choose.

Essential Tools and Supplies
Before you can achieve that eye-catching, chrome nail polish look, you’ll need the correct tools and supplies.
What You Need to Get Started
To start with chrome nail polish, here’s what you’ll need:
- Chrome polish: Choose from powder, gel, or liquid based on your preference.
- Base coat: Protects your nail from damage and provides a surface for the chrome to adhere.
- UV or LED lamp: Essential for curing if you choose gel chrome polish.
- Applicators: A silicone tool for powders, and brushes for liquid or gel polishes.
- Top coat: Seals in the chrome effect and adds durability.
- Cleansing wipes: For prepping the nails and removing residue.
It’s important to gather these items before you begin, to ensure a smooth application process. A prep ensures that the chrome polish adheres well and lasts longer.
Investing in Quality Brushes and Applicators
Quality tools make a big difference. Investing in good brushes and applicators will:
- Ensure a smooth, streak-free application.
- Help in achieving the desired effect with precision.
- Reduce wastage of chrome polish due to better application.
- Last longer, saving money over time.
Using subpar tools can result in a less-than-ideal chrome finish, so don’t skimp on quality. Your nails will thank you!
Step-by-Step Application Guide
For chrome nail polish enthusiasts eager to master the application process, a step-by-step guide is essential. Let us delve into three critical steps to achieve that coveted high-shine effect.
Prepping Your Nails for Chrome Polish
Firstly, you need to prepare your nails, which is crucial for a flawless chrome finish. Start by cleaning your nails thoroughly with an alcohol wipe to remove any oil or debris. Then, shape your nails and push back your cuticles. Apply a thin base coat, which protects your nails and provides a smooth canvas for the chrome. Allow the base coat to dry completely before moving on to the next step.
Detailed Application Techniques
Once prepped, the application method varies with the type of chrome nail polish you’ve selected:
- For powder: Dip the applicator into the chrome powder and rub it gently onto the surface of the nail. Cover the nail evenly until you achieve the desired mirrored effect.
- For gel: Apply a thin layer of the gel chrome polish, being careful not to get it on your skin. Cure the polish under the UV or LED lamp as per the manufacturer’s instructions.
- For liquid: Paint a thin layer of the liquid chrome polish onto your nails, just like you would with any other polish. Allow it to dry thoroughly.
In each case, apply lightly and build up to the required coverage with patience.
Curing and Sealing for Longevity
For gel chrome polish, the curing step is vital. After applying, place your nails under the UV or LED lamp to cure. Timing depends on your lamp’s wattage and the polish’s requirements, so follow the guidelines closely. Once cured, apply a top coat to seal in the chrome effect. This top layer not only adds brilliance to your nails but also provides durability, preventing chips and extending the life of your manicure. Allow the top coat to cure as well, and then admire the professional-level chrome look you’ve achieved!
Tips and Tricks for Perfect Chrome Nails
Achieving perfect chrome nails requires a touch of finesse. Below are insider tips to help you master the art of the chrome nail polish mirror finish and avoid common pitfalls in the process.
Mastering the Mirror Finish
To master the mirror finish, follow these simple steps:
- Apply chrome polish in a dust-free environment to prevent particles from sticking.
- Use thin layers of polish and build up gradually for a smooth finish.
- Buff gently to achieve a flawless mirror effect without scratching the surface.
Avoiding Common Mistakes
Common mistakes can easily undermine your efforts:
- Avoid applying chrome polish on wet base coats to prevent smudging.
- Do not rush the curing process; patience ensures a solid, long-lasting finish.
- Keep your applicator clean and dry to maintain a pristine application.
Mixing Colors and Textures
Mixing colors and textures can elevate your chrome nail designs:
- Experiment with base colors to change the reflection of your chrome polish.
- Pair matte and chrome textures for a modern, edgy look.
- Use striping tape to create sharp lines and patterns with different textures.
Remember, the key to impeccable chrome nails lies in practice, precision, and the right choice of products. By mastering these tips and techniques, you can showcase stunning nails that truly stand out.
Top Chrome Nail Polish Brands and Products
For those looking to dazzle with their fingertips, choosing the right chrome nail polish brand is crucial.
Exploring Industry Favorites
Various brands have won the hearts of beauty enthusiasts with their chrome nail polishes. These industry favorites are known for their quality and the breathtaking finish they provide. Popular options include Sally Hansen’s Miracle Gel, Essie’s Metallics Collection, and OPI’s Chrome Effects. Another favorite, Minx Nails, offers pre-made chrome wraps that are easy to apply and maintain. When selecting a brand, look for reviews and tutorial videos to see how the polish performs in real-time.
Comparing Price Versus Quality
Chrome nail polish prices can vary widely. Luxury brands may charge more for their products, but often deliver unparalleled shine and durability. On the other hand, budget-friendly options are available from brands like Sinful Colors and Wet n Wild. They provide an affordable entry point to chrome nails, although the finish may not be as long-lasting as premium brands. Remember, investing in a higher-quality chrome nail polish can mean better results and fewer touch-ups, potentially saving you money in the long run.
Innovative Chrome Nail Art Ideas
The world of chrome nail art is vast and dynamic, allowing for endless creativity and expression. When it comes to innovative ideas, there’s no shortage of designs that can translate your personal style into your manicure.
Inspiring Designs to Try
If you’re looking to bring a new twist to your chrome nails, consider these enticing design ideas:
- Metallic Marble: Combine chrome polish with water marbling techniques to create a mesmerizing metallic effect.
- Chrome French Tips: Add a modern spin to the classic French manicure with chrome tips.
- Ombre Chrome: Blend different chrome colors for a stunning gradient appearance on your nails.
- Negative Space: Use striping tape to leave parts of the nail without chrome for a chic, negative space design.
- Accent Nails: Apply chrome polish on one or two nails as accents, while keeping others in a solid color or different texture.
These designs can help you make a statement and showcase your creativity with chrome nail polish.
Incorporating Chrome into Your Nail Art
When it comes to incorporating chrome into your nail art, the key is balance and finesse:
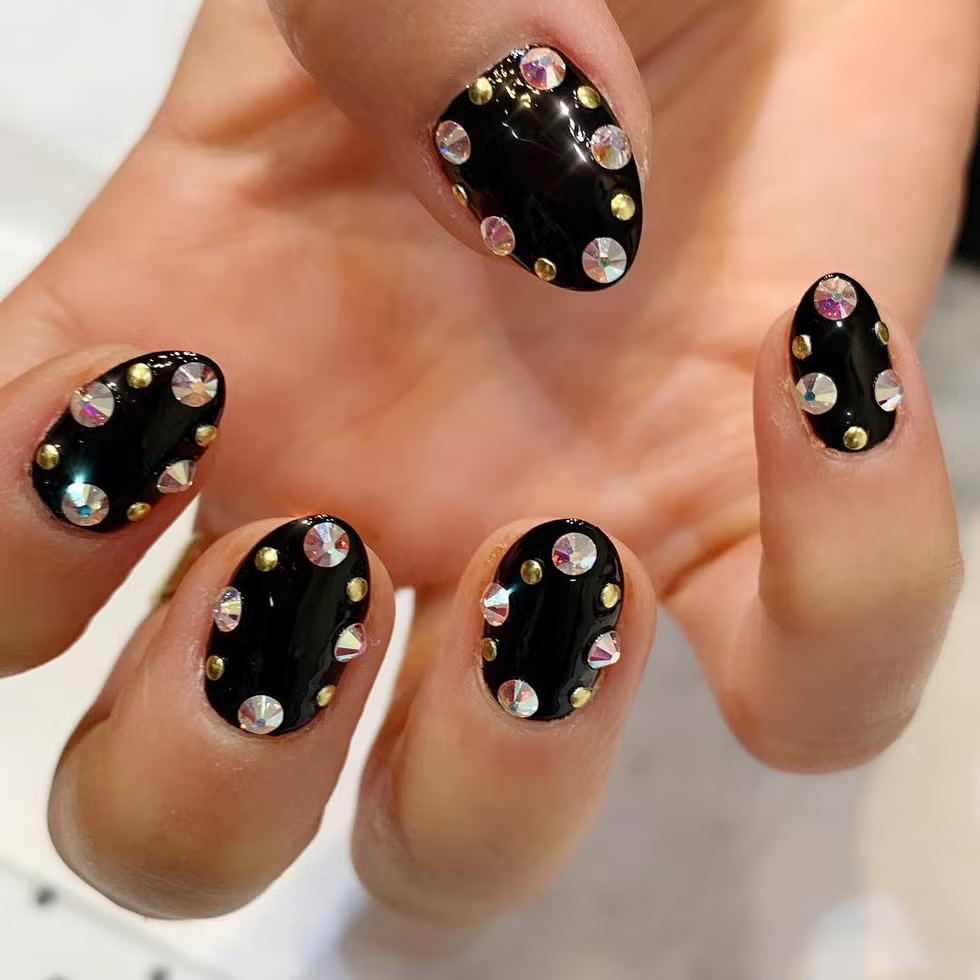
- Pair with Gems: Stick small gems onto your chrome nails to add sparkle and dimension.
- Matte and Chrome: Mix matte and chrome textures for an eye-catching contrast.
- Stencils and Stamps: Use nail stencils or stamps to apply chrome polish in intricate patterns.
- Mix Finishes: Alternate between glossy and chrome finishes for a unique, modern look.
Incorporating chrome into various nail art techniques can bring your nails to the next level of fashion-forward style. Each technique offers a different way to enjoy the chrome effect and can be adapted to match any occasion or outfit.